Friday, July 31, 2009

Oh!... my sweet tooth XD


As I blog about photography you might think that most websites and blogs I browse are about photography too... well... WRONG! =P

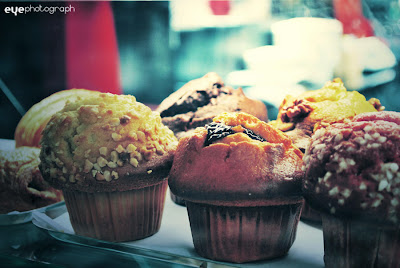
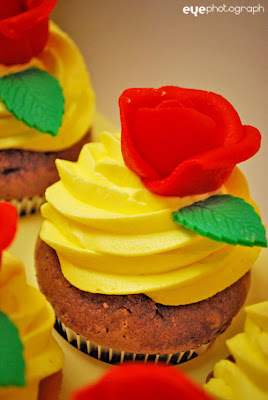
I LOVE going through cakes, cupcakes (especially cupcakes), macaroon, and dessert blogs. They are sooo sweet! XD and mouth watering too.

I'm specifically a follower of Bakerella , Cakespy , and Cupcakes Take The Cake blogs. They NEVER fail to make me crave for sweets especially cupcakes, which makes me sad as there are no cupcake shops where I live to order from and get my sweet tooth dirty! =\

I like baking, but I don't do that often. I'm just lazy =P... and I'm more into eating than baking, but I can't complain, I like it that way. XD


Action by manicho (deviantart)
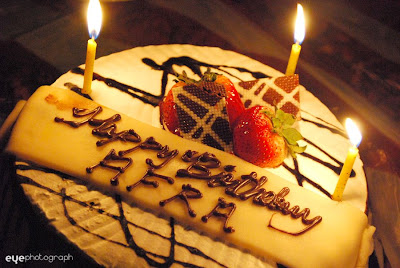


my Birthday cake =D


And here are few stuff I baked =D


I baked those after mid-night =P I like to bake when no one is around!


And finally a cross-stitched cupcake that I made =D

Monday, July 20, 2009

All roads lead to Rome

I don't know if you know this saying or not but it means that it doesn't matter what road you choose to drive through, a long road or a shortcut, as long as you know that it's going to take you to the destination you want, or there are many ways to arrive to your destination.

Same goes to Photoshop. There are many ways to adjust one element on the photo like lighting or contrast, for example. There's no right or wrong way when it comes to editing photos, what's most important is that you achieve the outcome your want.

Therefore, I came up with my own way of brightening photos. I'll show you the steps, but I will not give you figures of the degree of the change you need to make in each step as each photo is different and have been taken in different lighting conditions. So, I'll leave that up to you. You try and find what's best for your photograph. =)

So, here's an original photo I took... looks dark huh?

First:
1- Open your Photoshop application =P
2- Open the photo and duplicate it
3- Go to "image" from your main menu bar

4- Then "adjustments"
5- Then "Levels..."

As I said will not tell you how much you need to change because that depends on your photographs, however, I'll show you the tools on how to brighten them and the changes I have made to this photo.

So, the Levels window will look like this

Then I did this:

Then the photo came out like this:

Simple huh? =P I'll try to keep it that way =D

Second:
1- Again... "image" => "adjustments" => "Shadow/Highlight..."

Then that's how it will appear:

You do this:


The photo?:


Third:
1- "image" => "adjustments" => "Hue/Saturation..."

Change the Lightness:

Back to the photo:

Fourth:
1- "image" => "adjustments" => "Brightness/Contrast..."


Then:

Photo:


Fifth:
1- "image" => "adjustments" => "Hue/Saturation..."


Sixth:
1- Duplicate the "Background copy" layer
2- Overlay => decrease opacity


THERE! =D
Of course there easier ways to brighten your photo like:
1- Adjust Levels
2- Adjust Brightness from the "Brightness/Contrast..." window
3- Adjust the contrast

I tried that and that how the photo looked like (Left hand side)

I prefer the first way as the colors look more lively, tho I know it is kind of a long way to brighten your photo but as long as we're going to Rome, right? =P as long as we achieve the outcome we want, and that's how I wanted the photo to look like .

Here's another example using the first method